Sharepoint Integration
Prerequisites
- Version 9.2.9 or later.
- Connections component (automatically installed by Catalog).
- Privileges Required to use Azure Subscriptions.
- Privileges Required to use Sharepoint.
Installation
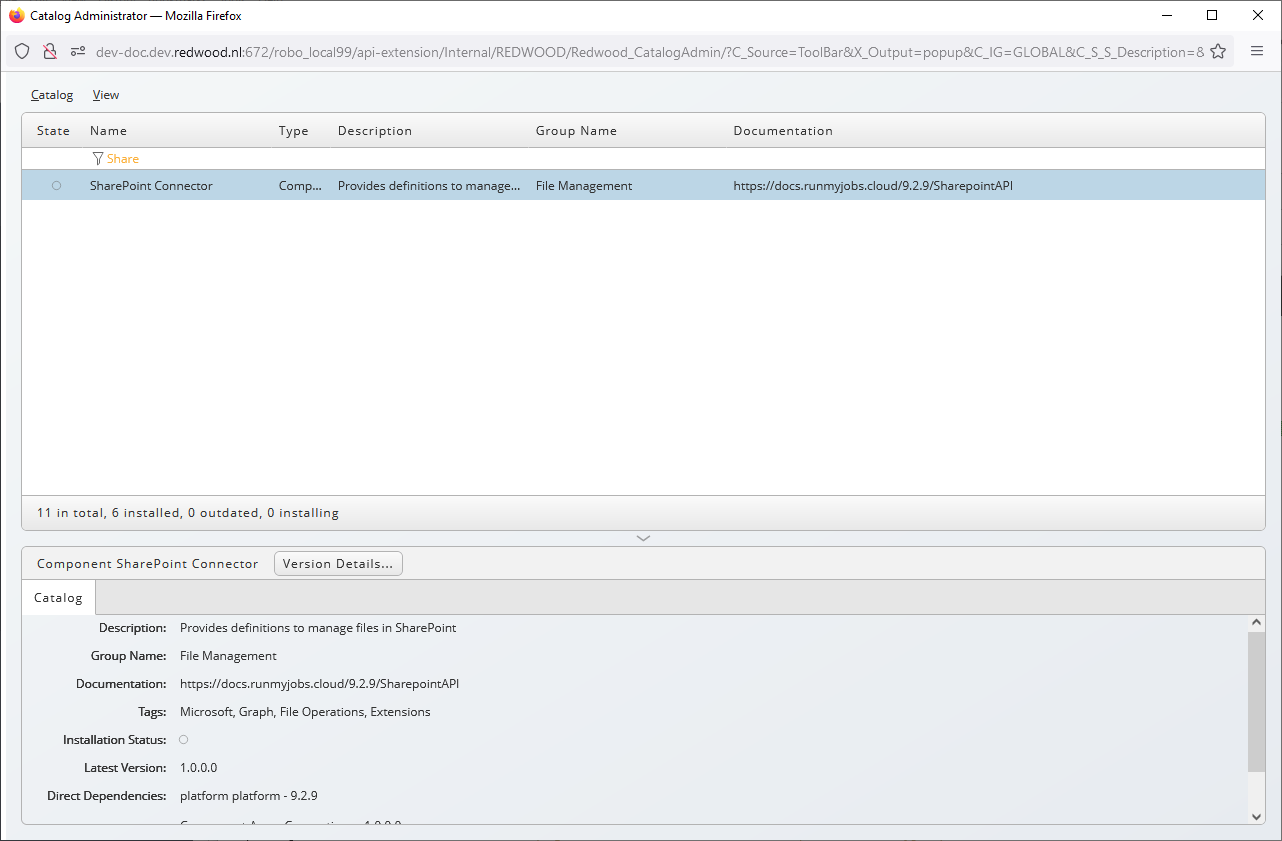
You use the catalog to locate the Sharepoint component in the Catalog, select version 1.0.0.0 and install it.
- Choose
 in the tool bar.
 - Fill any part of the name of the component you wish to install, for example
Sharefor SharePoint Connector, into the filter cell of the Name column. - Locate the component, choose Install Specific Version from the context-menu.
- Select the version you wish to install, in this example, 1.0.0.0:
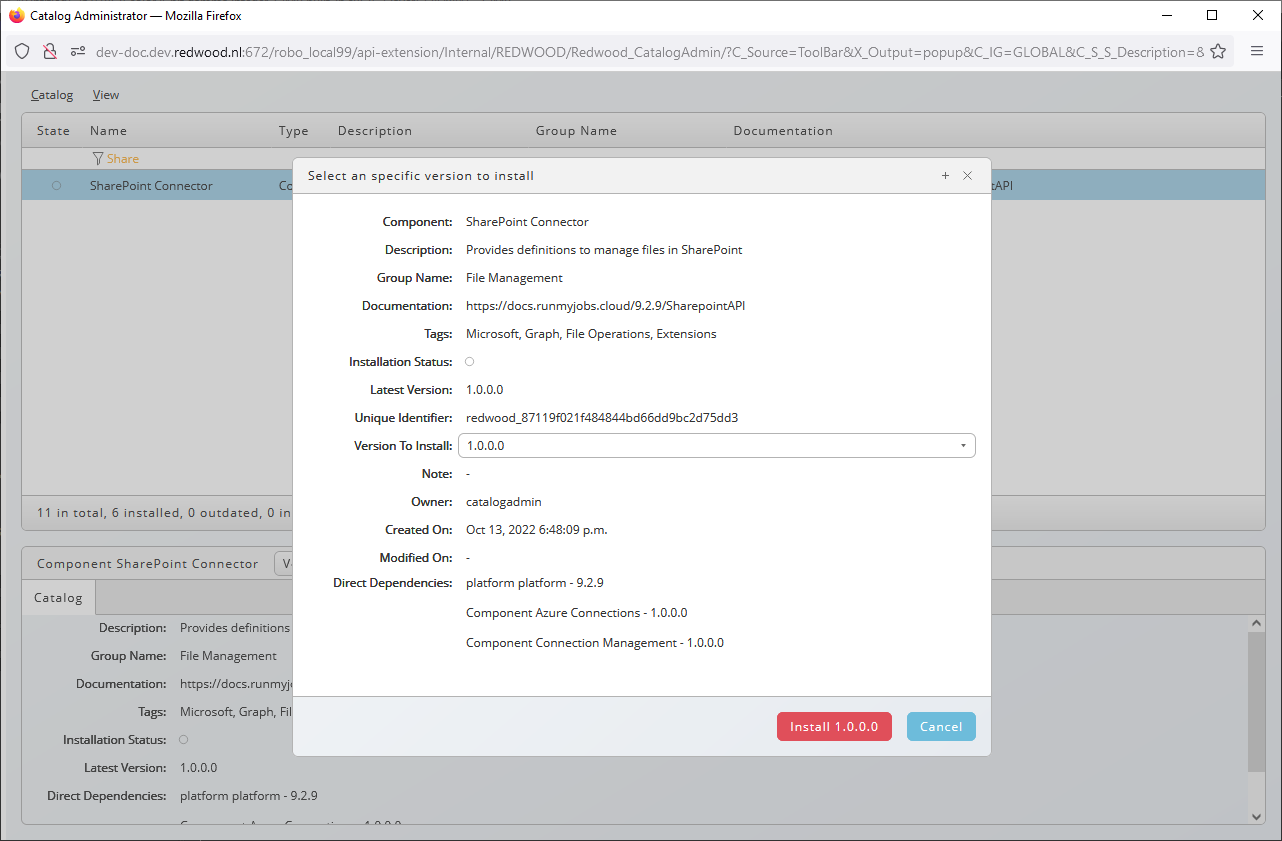
- Choose Install
<version>, in this example install version 1.0.0.0.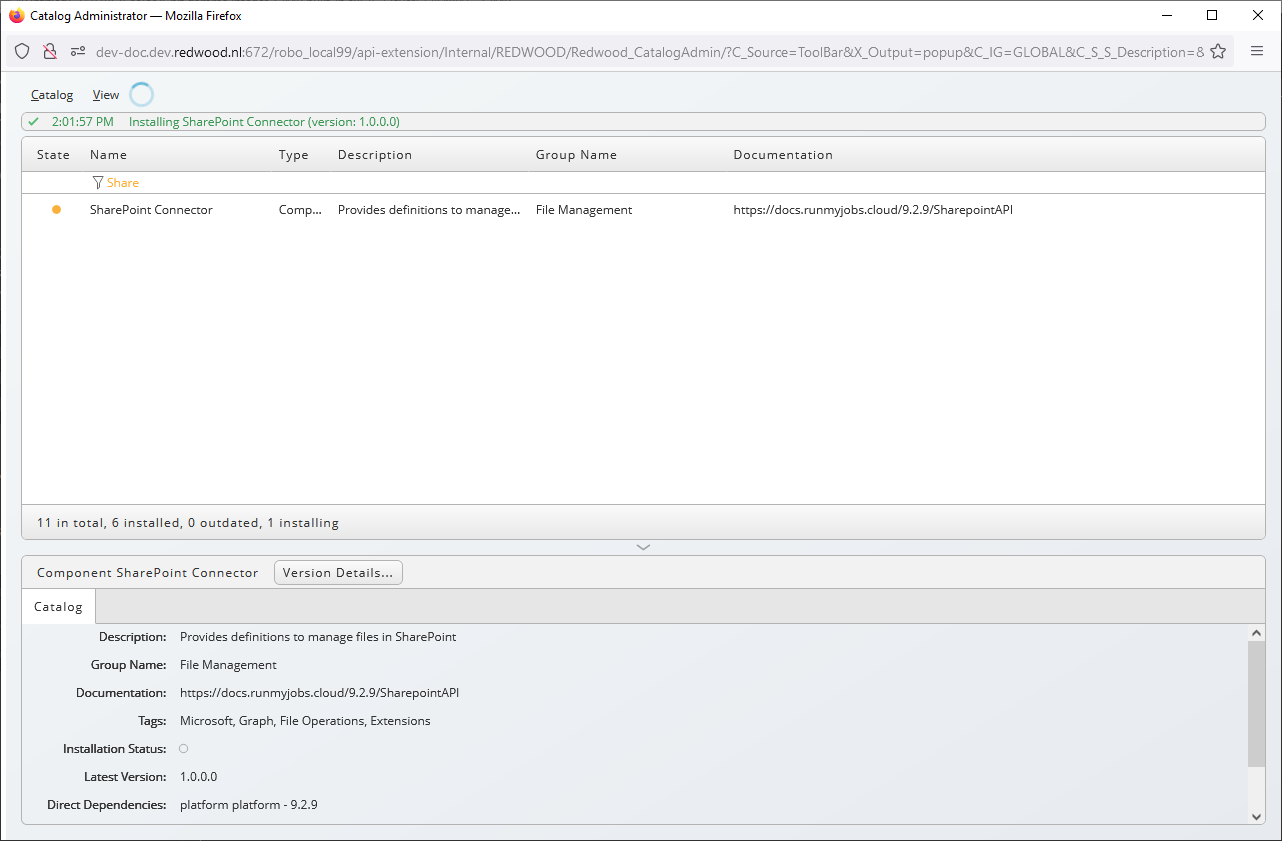
- If the Connections component is not already installed, it will be installed alongside SharePoint Connector.
Setup
- Navigate to Custom > Connections and choose
 .
.
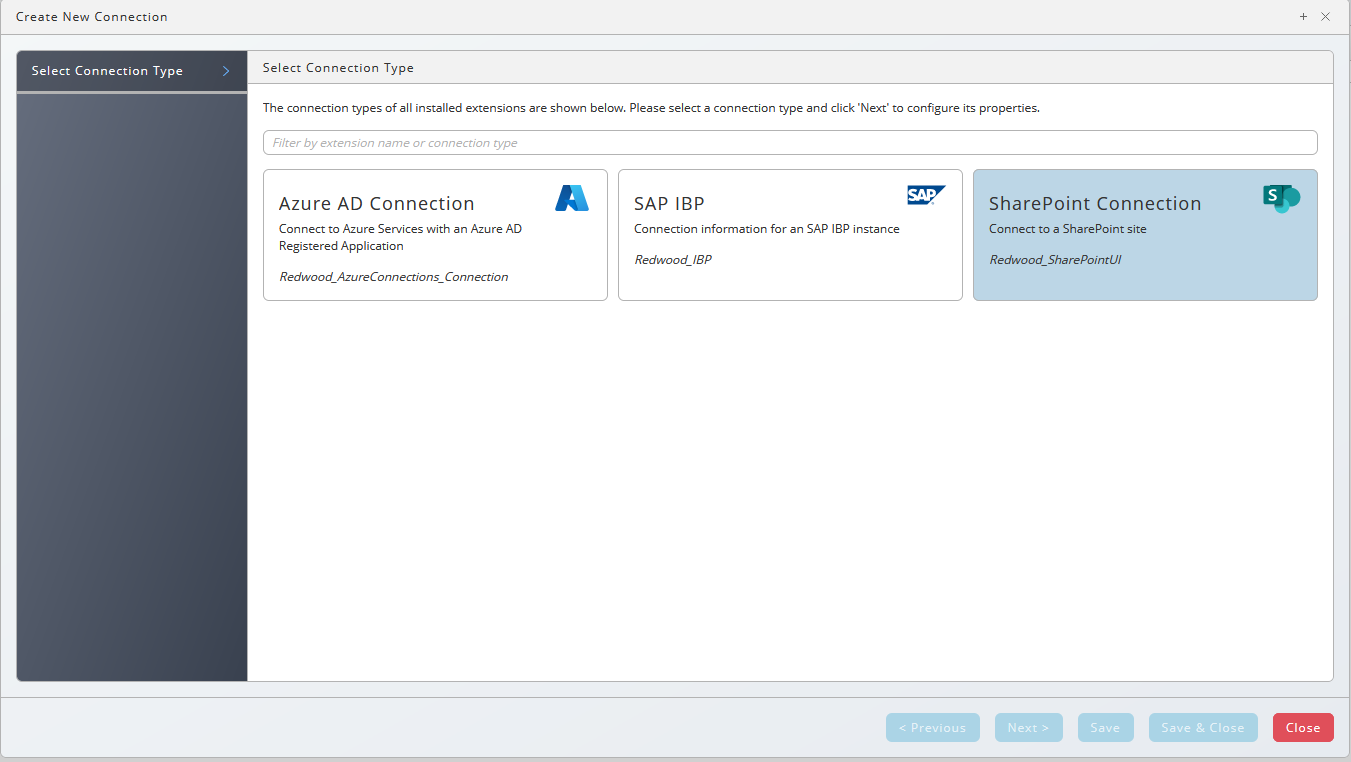
- Choose Sharepoint Connection under Select a Connection Type.
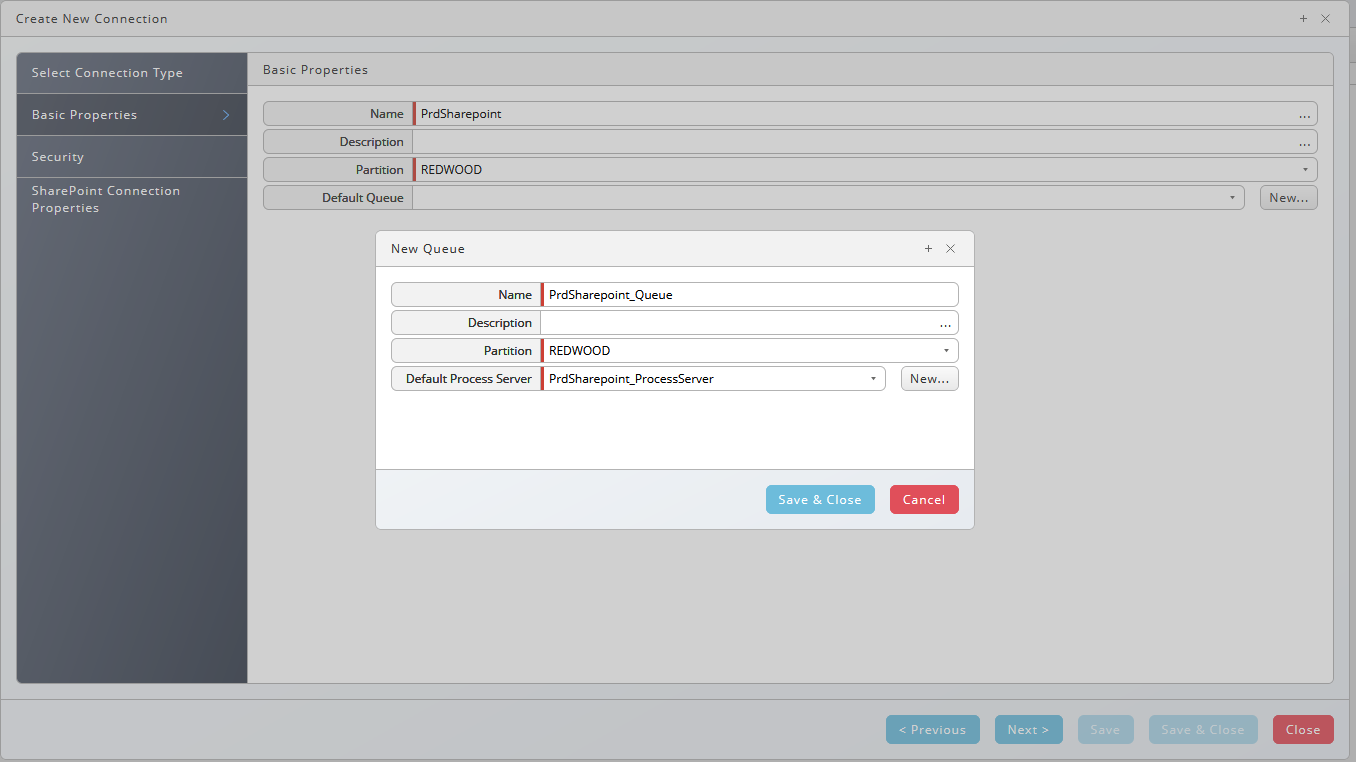
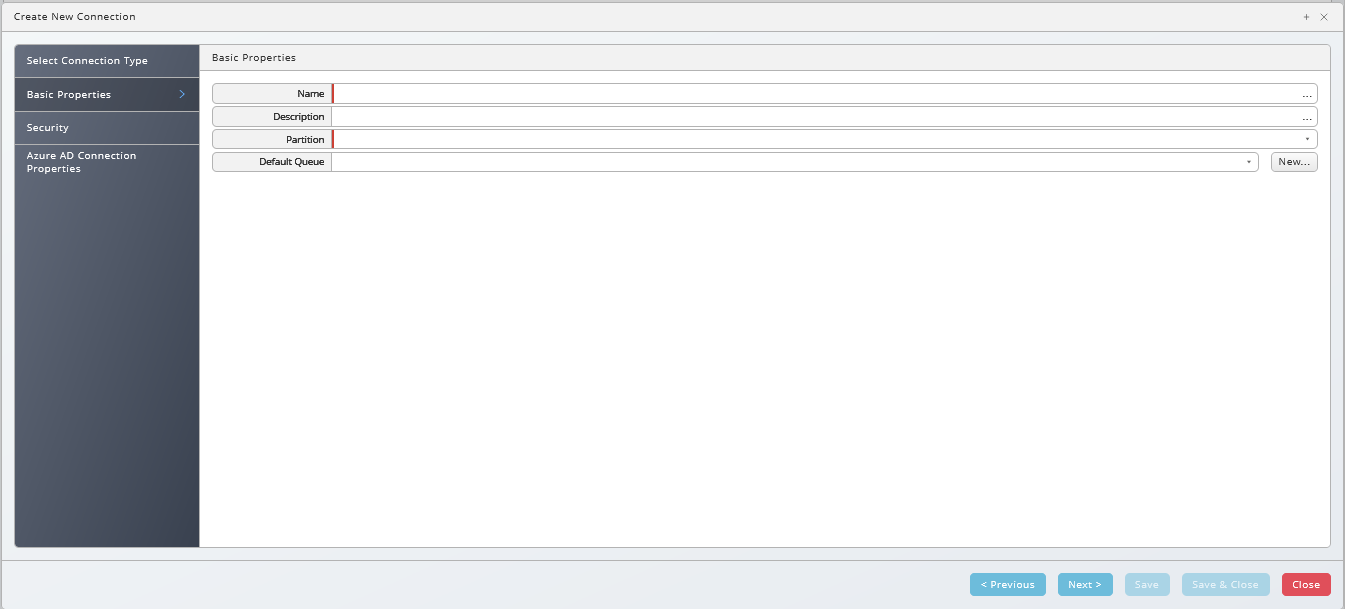
- Choose Next or Basic Properties, you create a queue and process server for your Sharepoint connection, all required settings will be set automatically.
- Choose Next or Security, this is a screen for all components, choose
 to specify which roles can access the connection information. It is recommended to grant the role at least the following additional privileges: View on the Sharepoint process server, View Processes on the Sharepoint queue, View on library Redwood_Sharepoint, and Submit on any process definitions users with this role are to submit.
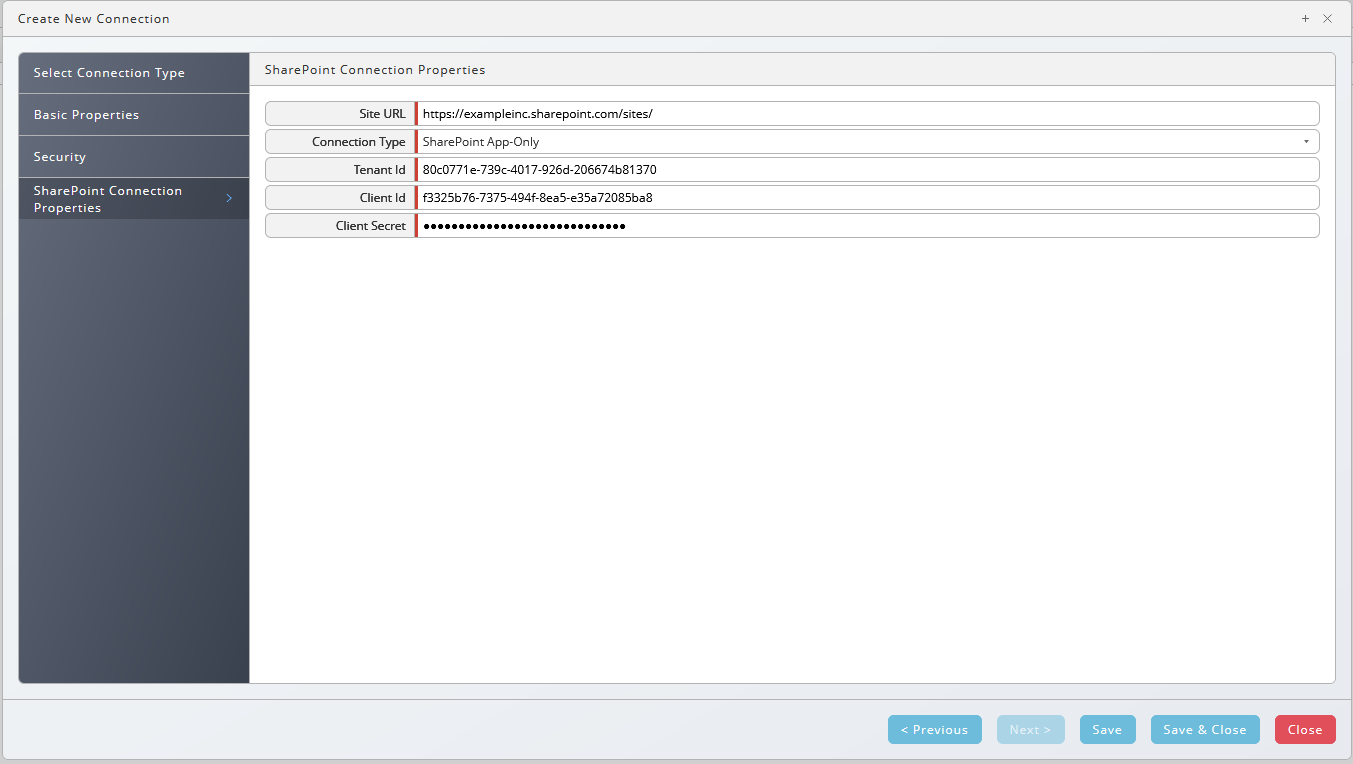
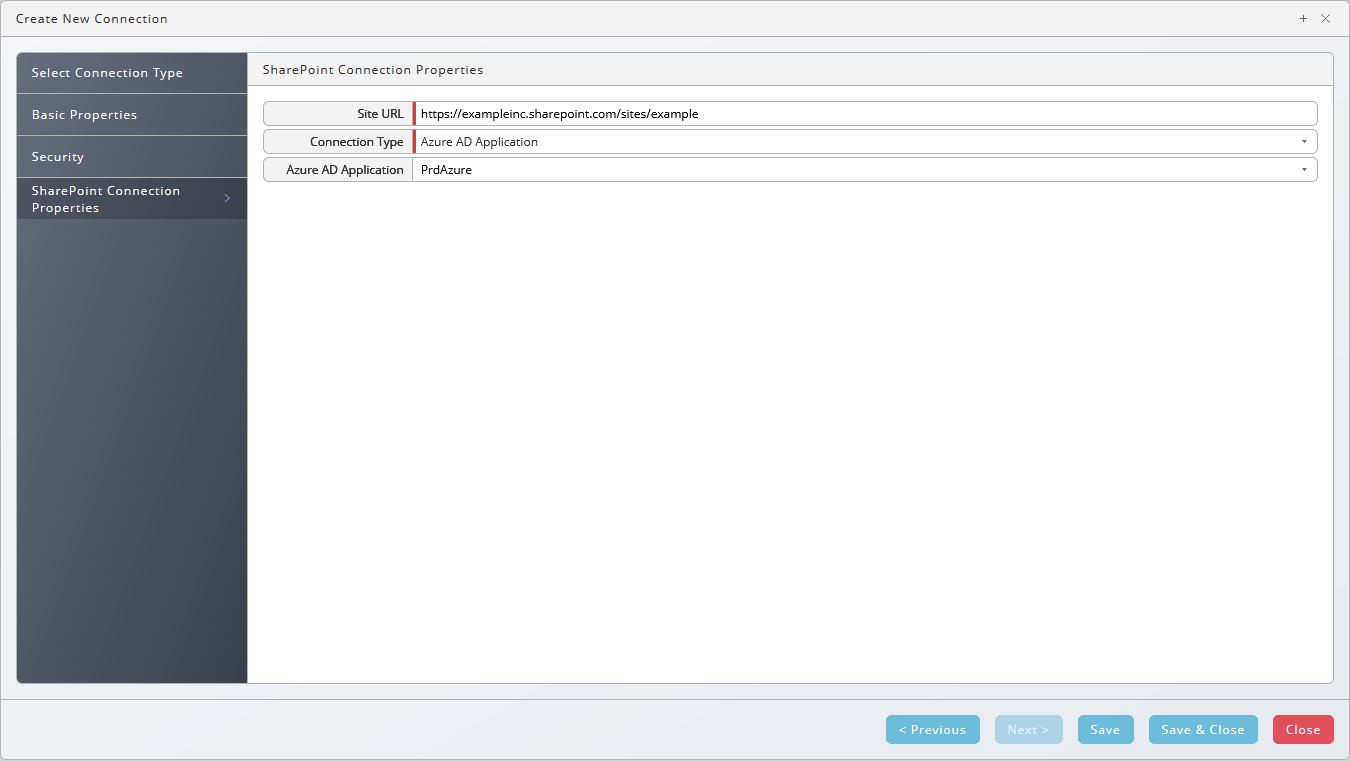
- Choose Next or Sharepoint Connection Properties, fill in the Site URL field, and perform either of the following:
- (Recommended) Select SharePoint App Only in Connection Type and fill Client ID, Tenant ID, and Client Secret fields; choose Save & Close.
- Select SAML in Connection Type and fill Username and Password fields; choose Save & Close.

- Select Azure AD Connection and select an existing Azure AD connection in the Azure AD Application field; choose Save & Close.
- (Recommended) Select SharePoint App Only in Connection Type and fill Client ID, Tenant ID, and Client Secret fields; choose Save & Close.
Contents of the Component
| Object Type | Name |
|---|---|
| Application | GLOBAL.Redwood.REDWOOD.SharePointUtilities |
| Constraint Definition | REDWOOD.Redwood_SharePointConnectionConstraint |
| Constraint Definition | REDWOOD.Redwood_SharePointDriveConstraint |
| Extension Point | REDWOOD.Redwood_SharePointUI |
| Job Definition | REDWOOD.Redwood_Sharepoint_Delete_Item |
| Job Definition | REDWOOD.Redwood_Sharepoint_Download_File |
| Job Definition | REDWOOD.Redwood_Sharepoint_Move_Item |
| Job Definition | REDWOOD.Redwood_Sharepoint_Upload_File |
| Library | REDWOOD.Redwood_SharePoint |
Rweood_Sharepoint_Upload_File
Upload a file to a SharePoint server.
Parameters
| Name | Description | Documentation | Values |
|---|---|---|---|
SHAREPOINT_CONNECTION | SharePoint Site Connection | Connection created with the Connections. | |
FROM_FILE | File to Upload | File type parameter with file Browser. | |
DRIVE | Document Library | Sharepoint library to upload the file into. | |
TO_DIRECTORY_PATH | Target Folder | Target path in Sharepoint. | |
TO_FILENAME | Uploaded File Name | Target file name in Sharepoint. | |
OVERWRITE | Overwrite Existing File | If a file exists, do you want to overwrite the file? Note that with Sharepoint history, you can restore files. | true - overwrite filefalse - raise an error if the file already exists |
CREATE_MISSING_DIRECTORIES | Create Missing Directories | If the path does not exist in Sharepoint, would you like to create the missing folders in the path? | true - creates the missing foldersfalse - raise an error if a folder is missing |
OUT_URL | URL of the uploaded file | The URL to the uploaded file (Out parameter). |
Redwood_Sharepoint_Download_File
Download a file from the SharePoint.
Parameters
| Name | Description | Documentation | Values |
|---|---|---|---|
SHAREPOINT_CONNECTION | SharePoint Site Connection | Connection created with the Connections. | |
DRIVE | Document Library | Sharepoint library to download the file from. | |
FROM_PATH | Folder Path | Source folder to download the file from. | |
FROM_FILENAME | File Name | File name on the Sharepoint server. | |
TO_FILENAME | Downloaded File Name | File name of the downloaded file. | |
DOWNLOADED_FILE | Downloaded File | The downloaded file (Out parameter). |
Redwood_Sharepoint_Delete_File
Delete file on SharePoint server.
Parameters
| Name | Description | Documentation | Values |
|---|---|---|---|
SHAREPOINT_CONNECTION | SharePoint Site Connection | Connection created with the Connections. | |
DRIVE | Document Library | Sharepoint library to download the file from. | |
DIR_PATH_TO_DELETE | Folder Path | Folder to download the file from. | |
FILE_NAME_TO_DELETE | File Name | File name on the Sharepoint server. | |
RECURSIVE | Recursive | Delete files recursively |
Redwood_Sharepoint_Move_File
Move File on the SharePoint server.
Parameters
| Name | Description | Documentation | Values |
|---|---|---|---|
SHAREPOINT_CONNECTION | SharePoint Site Connection | Connection created with the Connections. | |
DRIVE | Source Document Library | Sharepoint library to download the file from. | |
SOURCE_FOLDER | Source Folder | Source path in Sharepoint. | |
FILE_NAME | File Name | Source file name in Sharepoint. | |
TARGET_DRIVE | Target Document Library | Target Sharepoint library to copy the file to. | |
TARGET_FOLDER | Target Folder | Target path in Sharepoint to copy the file to. | |
OVERWRITE | Overwrite | If the path does not exist in Sharepoint, would you like to create the missing folders in the path? | true - creates the missing foldersfalse - raise an error if a folder is missing |
CREATE_MISSING_DIRECTORIES | Create Missing Directories | If the path does not exist in Sharepoint, would you like to create the missing folders in the path? | true - creates the missing foldersfalse - raise an error if a folder is missing |
OUT_URL | URL of the destination file/directory | The URL to the moved file (Out parameter). |
Sharepoint Configuration
To register the app, you to first generate a private key and a certificate.
Create a Certificate Using OpenSSL
$ openssl genrsa -out key.pem 2048
$ openssl req -new -sha256 -key key.pem -out requ.csr
$ openssl req -x509 -sha256 -days 365 -key key.pem -in requ.csr -out cert.pem
$ openssl pkcs12 -export -inkey key.pem -in cert.pem -out cert.pfx
Sequence of openssl commands to generate a password-protected PFX certificate with private key.
With the PFX, you can actually register the app in Azure.
Registering the App
- Navigate to https://aad.portal.azure.com.
- Choose Azure Active Directory on the left-hand side.
- Choose App registrations on the left-hand side.
- Fill in a name into the Name field and choose Register.
- Choose Certificates & secrets, choose Upload certificate and browse to your PFX certificate.
- Store the Application (client) ID (Client ID) and Directory (tenant) ID (Tenant ID) for future use and choose Add Permissions, choose Sharepoint.
- Under What type of permissions does your application require, choose Application permissions.
- Assign the required permissions to the app and choose Add permissions; these can be changed later as needed. Please refer to the Microsoft documentation, for more information.
Import Certification in Redwood Central Server
Import the PFX into Redwood Central Server
- Navigate to Security > Credentials.
- Choose New credential from the context-menu, select the partition of Sharepoint component.
- Select
X509_ClientCertificatecredential protocol and upload the PFX file. - Specify the password of the PFX file.
- In the Common Name field, specify the name of the Sharepoint site, for example,
contoso.sharepoint.com.